We headed into the cave avoiding loosing the tackle bag in the choke this time, but having the misfortune of both straps on the bag coming off enroute. We climbed up into the Fault Aven Series with no hiccups and headed straight to H Junction and the start of Pom Pom Passage.
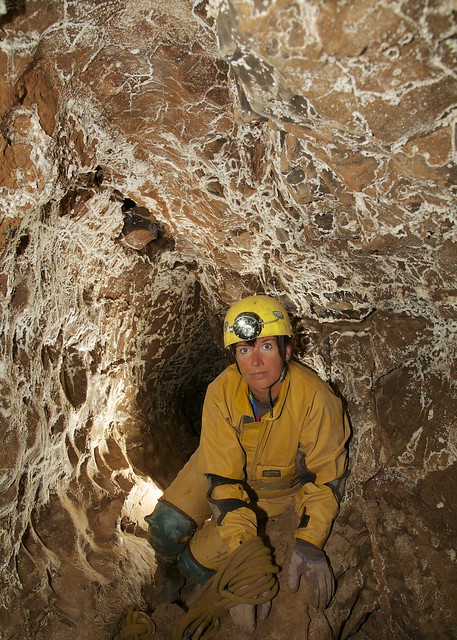
Jess in Pom Pom Passage.
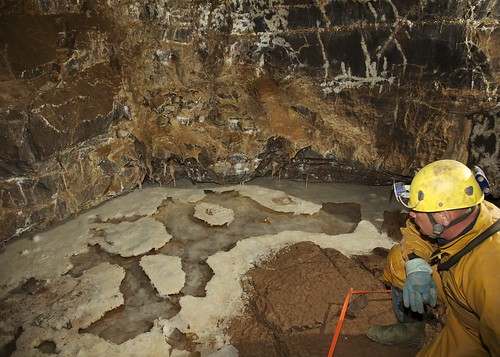
Mark views a crystal pool in Pom Pom Passage.
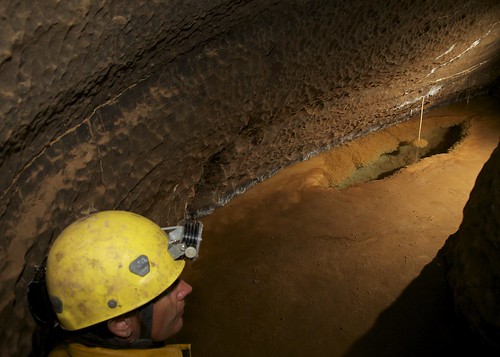
The climb up into Pom Pom Passage proved more tricky that expected, but soon we were looking down to the lower level. Treading very carefully in this delicate area we viewed dry crystal pools before traversing to the Pom Pom.
Jess views the Pom Pom Formation.
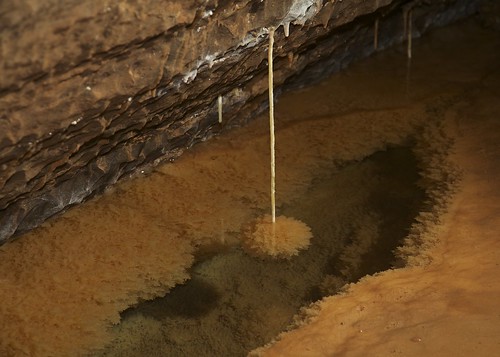
A close-up of the Pom Pom Formation.
Photos were taken of the Pom Pom before heading back over the traverses to H Junction. From here we then set out to find and explore passages that had not been included on the previous trip. This area of the cave is a 3D maze with passages at many different levels, often one above the other. We found a lower entrance into Fault Aven, but turned back at an exposed rope climb on the route that we believe takes you to the uppermost level in Fault Aven. We will return with tackle to protect the climb on a future trip. A tricky but fascinating area of the cave.
The Video
Present: Mark Burkey, Jessica Harding, Keith Edwards and Brendan Marris


No comments:
Post a Comment